MAKING OF.
How I edited my photo "New York Skyline"
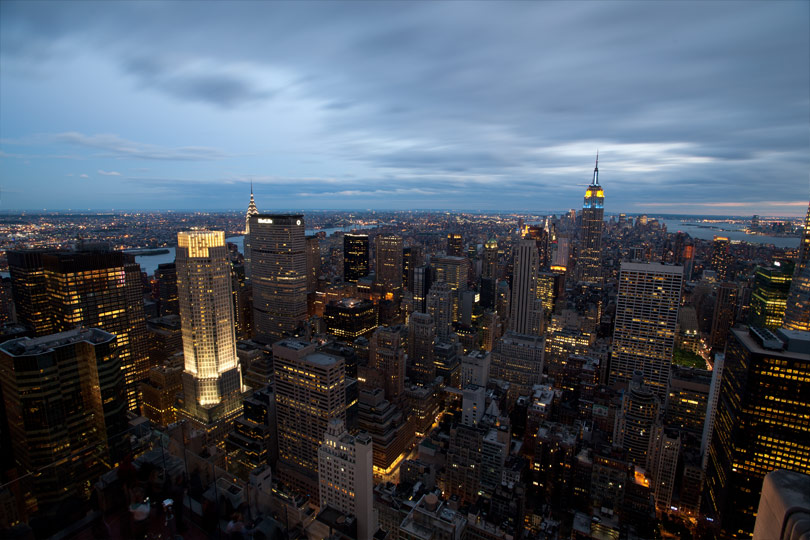
I took the photo on the observation deck of the Rockefeller Center in New York. Tripods are not allowed but I took advantage of one ledge and stabilized the camera with my hands for an exposure of 25 seconds.
01
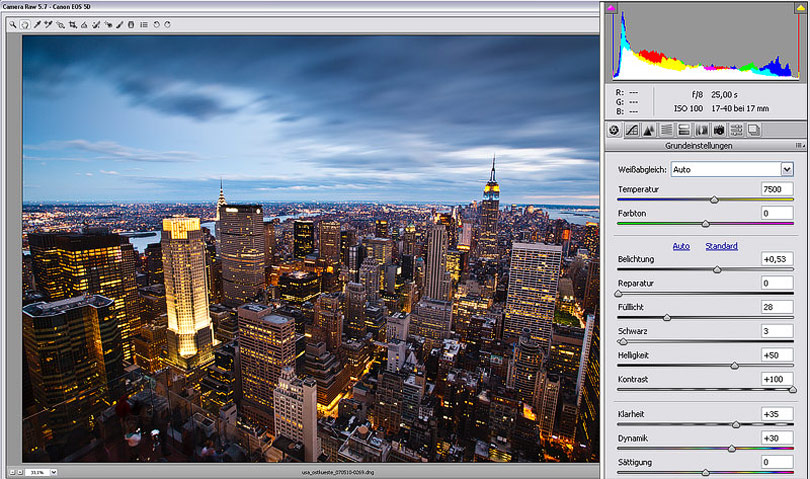
At the beginning I start with some basic corrections in Camera Raw: Increasing exposure and fill light. As I'm planning a high contrast black white conversion, I use the maximum amount of contrast and explicitly increase clarity.
02
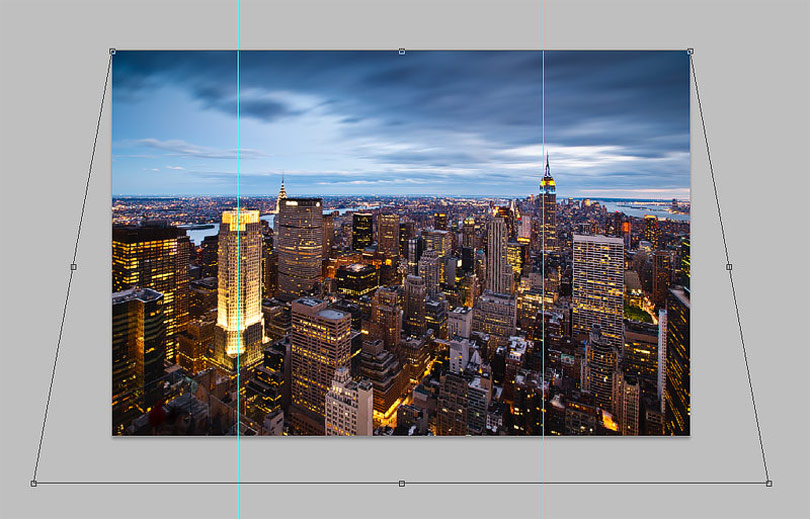
With the free transform tool (CTRL/CMD-T) I correct the non-parallel verticals and perspective.
03
The conversion is done with Image - Calculations. I multiply the red channel with itself and get a high contrast black white image. The created channel is copied to the layers palette.
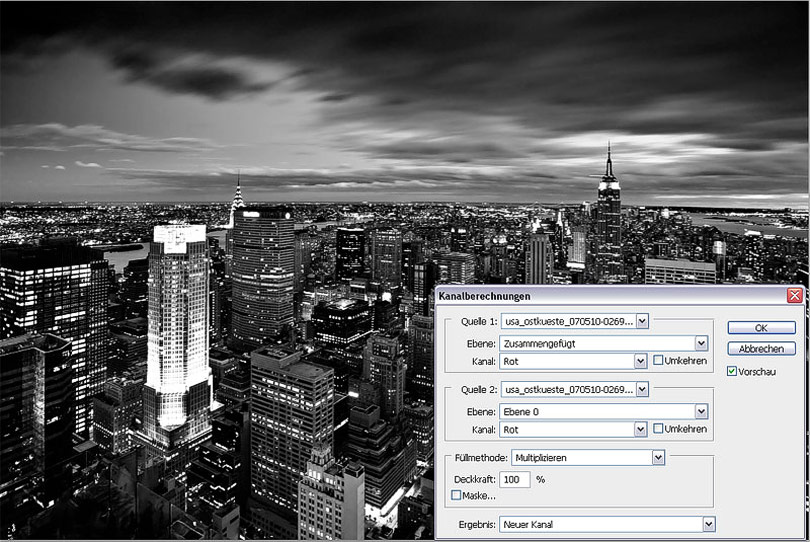
04
To get more details in shadows and highlights I apply the command Shadow/Highlights.
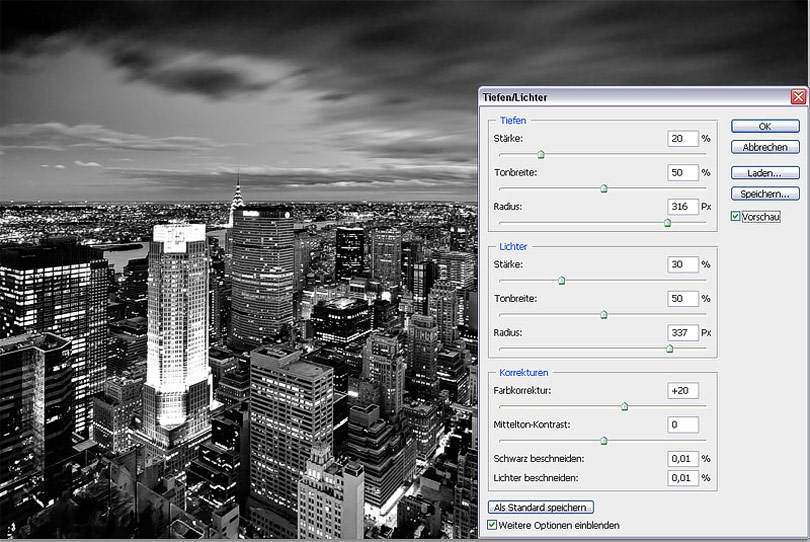
05
With a s-shaped curve I increase overall contrast.
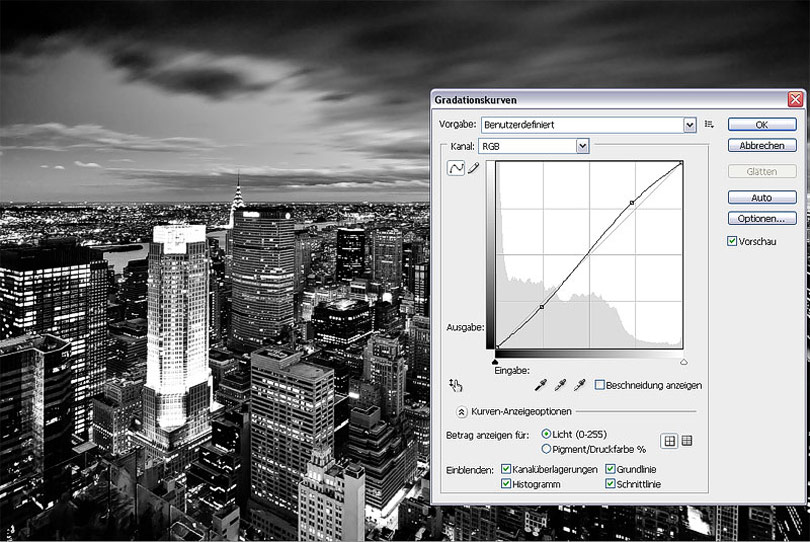
06
To get a more dramatic sky I again apply calculations. This time I combine the grey channel (which was created in step three) with itself in overlay mode. Note: it's important to keep an eye on the sky and ignore the bottom part of the image.
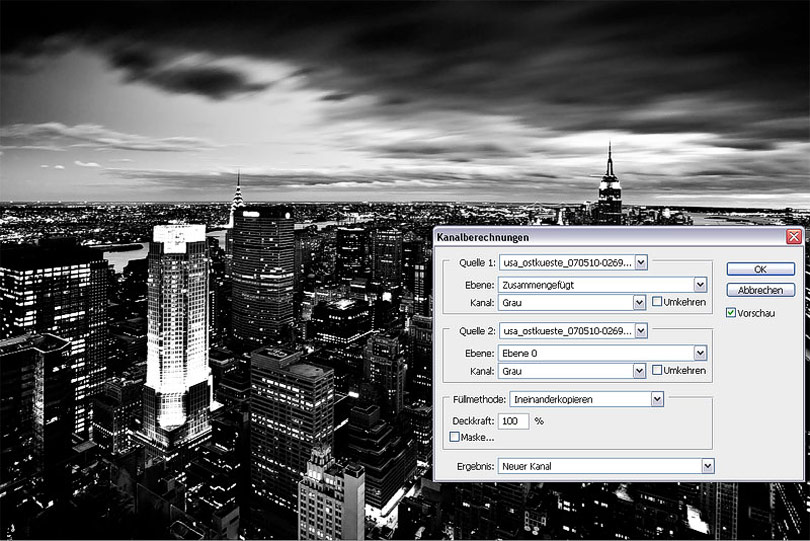
07
The created channel is copied to the layers palette. With a mask only the sky keeps visible.
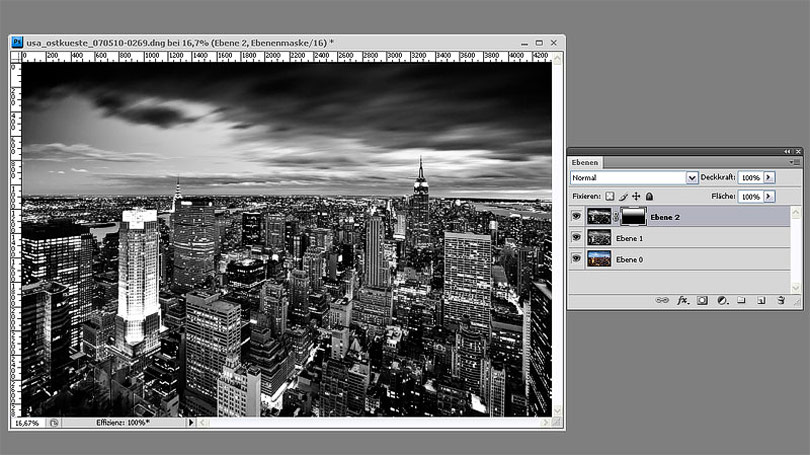
08
Some details got lost during the conversion. With the help of the originally colored layer it's easy to recover them.
09
The colored layer is set on the top of the layers palette, layer mode is luminance. With a mask everything is hidden, then use a white soft brush to paint the lost details back.
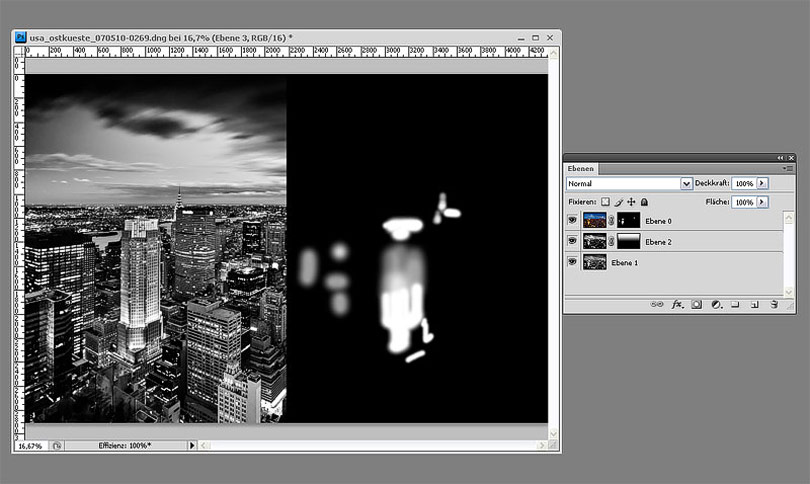
10
Finally a stronger s-shaped curve provides the hard contrast I desired.
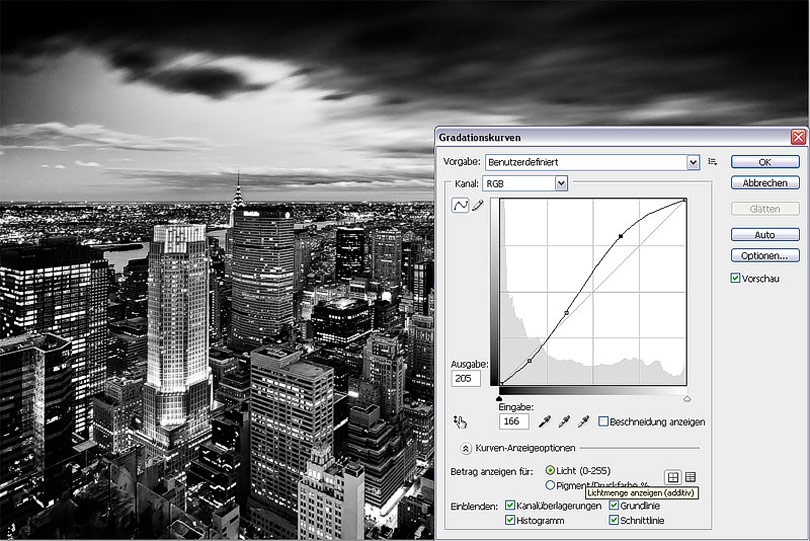
11
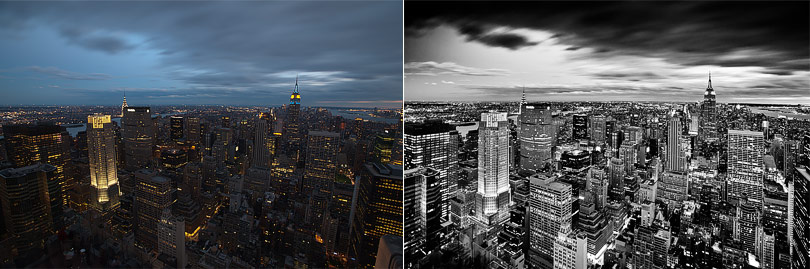
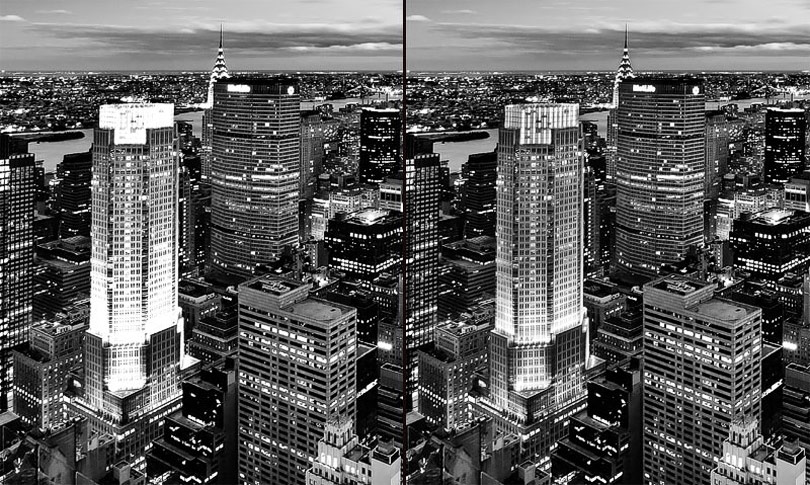
Move the slider to compare the original photo with the final result (Mozilla Firefox). In the Internet Explorer alternatively click on any position.